Introduction to Mouse and Keyboard Events
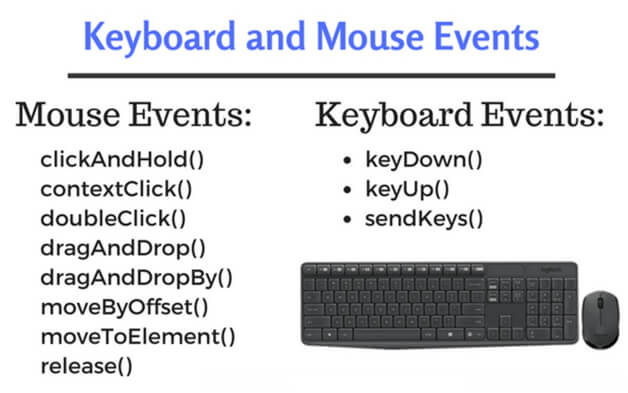
While performing manual testing, we perform various mouse and keyboard events. And hence, we can easily automate these events by the use of Selenium-based commands. However, Selenium provides multiple methods to handle all mouse and keyboard events with advanced user interactions API.
Before moving ahead with keyboard and mouse events in Selenium WebDriver, let’s look at the difference between the Action and Actions classes in Selenium.
Since Action and Actions class sounds the same, testers get confused with their work. Here, Action is not a class but an interface. And the Actions class implements the Action interface.
The Action interface represents the single user interaction action and is used to compile all the actions defined by the Actions class. Action interface provides a method perform() to perform or execute the defined actions. The Actions class, employed by various software companies, depends on a builder design pattern for emulating complex user gestures.
To use the Action interface and Actions class, we need to import the following libraries:
- import org.openqa.selenium.interactions.Action

Syntax of defining Actions class:- Actions ActionsObject = new Actions(WebDriverInstance)
Mouse and Keyboard Events

There are two methods in the Actions class, and we can further categorize them with different kinds of actions in Selenium:
- Keyboard interface
- Mouse interface
Keyboard interface methods
1) keyDown()
It accepts the modifier key as a parameter and performs a press action until specified to release the mentioned Key. And these standard modifier keys are Keys.SHIFT, Keys.Control, Keys.TAB etc.
Syntax: keyDown(WebElement obj, Keys.modifierKey) or keyDown(Keys.modifierKey)
2) keyUp()
It accepts modifier key as a parameter and performs key release action for a specified mentioned Key.
Syntax: keyUp(WebElement obj, Keys.modifierKey) or keyUp(Keys.modifierKey)
3) sendKeys()
When there is a need to send a sequence of characters to the defined input field, we use this method. The use of sendKeys() with the Actions class maintains the focus of WebDriver on that particular input field and is helpful when using modifier keys.
Syntax: sendKeys(“string”)
Mouse interface methods
1) clickAndHold()
Click at the current mouse position or at the element specified in the parameters until determined to release.
2) contextClick()
Used to perform right-click or context-click operation on the element specified.
3) doubleClick()
Used to perform double click events on the element specified.
4) dragAndDrop(source,target)
We can use this to drag an element from the source location and drop it to the target location.
5) dragAndDropBy(source,xOffset,yOffset)
We use this to drag an element from the source location and drop it to the target location mentioned in the form of coordinates.
6) moveByOffset(xOffset,yOffset)
We use this to move the current mouse position to the specified coordinates position.
7) moveByElement()
We use this to move the current mouse position to the specified web element.
8) release()
We use this to release the left mouse button at the position specified.
Sample Code Example Covering All Keyboard And Mouse Interface Methods:
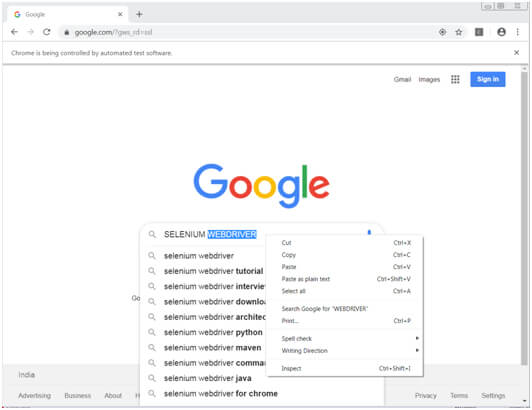
Output of first test annotation method test_func1():

NOTE : In the above code, we have called the build () method that resets the internal builder state to call actions in sequence by compiling all the actions, while we use the perform () method to deliver or execute the actions.
You can check out the Selenium official website because it contains more information about the Actions class.
Conclusion
As a Software Testing Services Providers we have now covered all the keyboard and mouse events that we can handle using Selenium WebDriver. So, the above code example and theory can help you with advanced user interaction API using the Actions class. So, give it a try by running the above code. Moreover, Every test annotation method has different output depending on the events they perform.
Good Luck, Happy Testing!!
Recent Blogs
Categories


