Jenkins is a continuous integration tool which can be used for integrating the builds with the production environment. It is used to quickly deliver the product to the customer by making sure that the build is stable. You can maintain your tests through selenium or QTP.
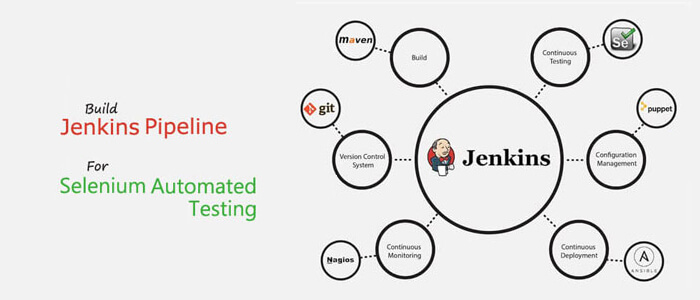
You can even schedule nightly build runs with these integration tools with Jenkins so that you don’t have to be in front of the system to run the tests.
You can build Jenkins pipeline for selenium testing in an Automated Testing Services Company but before that, you should have some pre-requisite in your system. They are:
- Maven setup,
- Selenium Jars, and
- Selenium Tests.
You have to configure maven in Jenkins and have to pass the path of your tests so that it can take the latest build.
How Does Jenkins Actually Work?
Whenever a new build is triggered then Jenkins takes it from the repository and maven in turn downloads or updates all the dependencies. It updates all the existing packages and the build process is triggered. Build process is done so that all the packages are updated so that the tests run without any difficulties. For this, we should have maven-sure-fire plug-in dependencies tag in pom.xml. It will pick all the tests which have @Test annotation. So, wherever maven sure fire plug-in gets a @Test tag, it will run those tests and Selenium web driver runs the tests by opening the browser.
After running the test through Jenkins you get a default report which is published on the server. The dashboard will display the reports and if you want some customized reports, then you can integrate Extent or allure reports with the Jenkins. You will get the build status on the dashboard so that you can get to know the statuses in one go.
Steps to Integrate Selenium Automated Tests with Jenkins
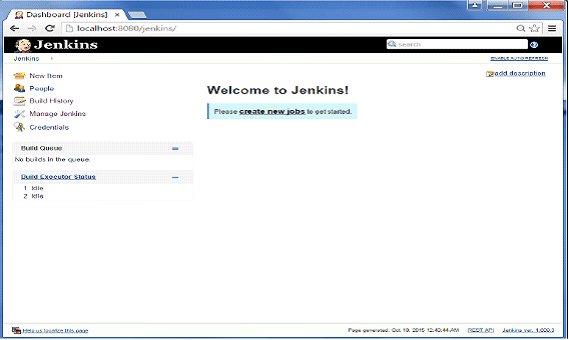
You have to first click on a new item on Jenkins dashboard. This is to create a new job which would be running on the Jenkins server.
When you will click on a new item, you have to give the name of the item. Ideally, the item’s name should be the same as that of your Project’s name. But after this, you will be prompted to choose a type of project. You have to select the type of project which you will be integrating with the server. Let’s first look at the project types which Jenkins can integrate with it.
There are basically four types of project which you can choose in Jenkins. Let’s have a close look at those.
-
Freestyle project:
In this, Jenkins will combine SCM with build system and it wills only the build the project.
-
Maven project:
Jenkins will build a project which will be having pom.xml in it. This pom.xml will take care of all the dependencies and packages to be installed.
-
External Job:
In this, you can record the execution of the test cases on remote machines. In other words, when the test cases will be running outside Jenkins, then you should choose an external job. You don’t need to worry about reports as Jenkins dashboard would be the server on which reports would be displayed.
-
Multi-configuration project:
If you are having a very big project with huge configurations then you can select a multi-configuration project. This project is generally when you have big regression suites which you want to run on multiple environments.
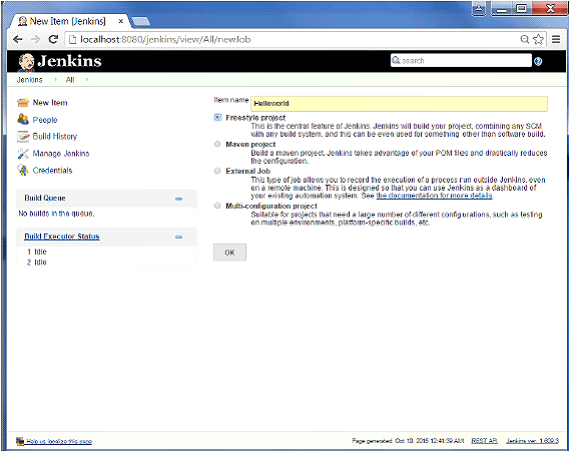
If you are a beginner with Jenkins, you should select a freestyle project. Now, you should specify the details of the job. Let’s see what the details which you have to enter are.
- Description of the project
- Source Code management
- Advanced Project Options
- Build Triggers
- Build Options
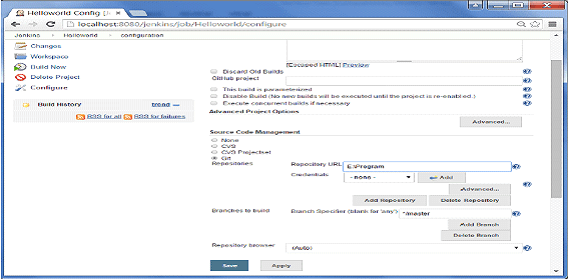
Now, aren’t you thinking how Jenkins would fetch the latest build? So, you have to first the path of the repository from where tests have to be taken. You can either a have local repository or a remote GitHub repository. You have to pass the path of these repositories in Jenkins so that it can fetch the latest build. You have to pass the path and then it will ask for credentials. You can add the credentials in it – username and password. This is to ensure that proper authentication is followed while fetching the latest build.
Now, how would the test commands is fired? So, go to the build section and then click on add build setup. You have to select an option named - Execute window batch command from the dropdown.
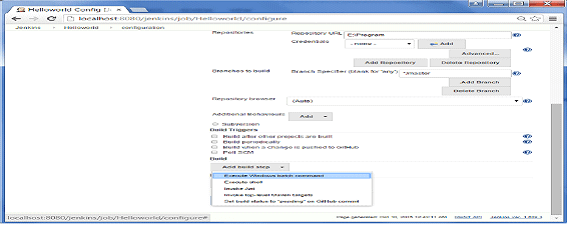
When we are working on a project, we maintain a versioning system. This will ensure that we have different versions of code. Sometimes, if the system crashes then we can revert to the old code. In this case, you should ideally have one master branch and many sub-branches. When the code gets stable then it is pushed to the master branch. If you have some versioning system in your project, then you can even pass the branch path in Jenkins. You can see in the show below:
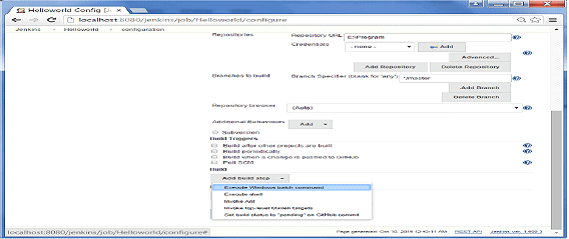
Now, everything is almost done. But when will build get triggered. You can have nightly build run running on Jenkins so that by the time you reach office in the morning, you have your test report in front of you. You have to pass the time so that tests can automatically start running automatically. Let’s go through the available options in detail below:
- Build whenever a snapshot dependency builds.
- Triggers build remotely.
- Build periodically.
- Build when change is pushed to BitBucket.
- Build after projects are built.
- Poll SCM
If you want to run the test periodically and on a nightly basis, then you can enter the schedule in Jenkins.

Also, one advantage which you will get in build options is to add pre-test commands. In maven, while running the test, you first clean the tests and then compile and then run it. You can add “clean test” in Goals and options section. It will first run this command and then only the tests will be executed. clean test-Dselenium browser=chrome is the command which you have to pass in Jenkins so that automatically maven build would be clean.

Now, you are done with build actions, but what would happen after a build is triggered and tests are executed? So, you can even configure the settings in which you will tell Jenkins what to do after the tests are executed. You can simply choose the option – Publish JUnit test results report. So, whenever your tests would be executed, automatically reports would be published on the dashboard. You can even select the option – “Archive the artefacts” so that test results can be directly emailed. You can select the files which you want to archive.
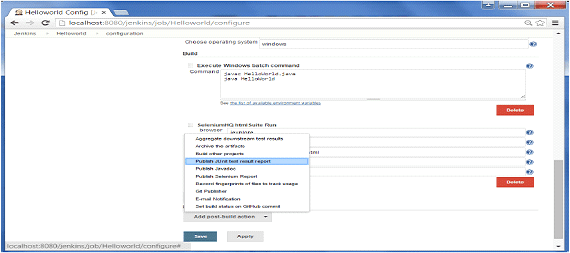
Now, you are done with settings. On Jenkins dashboard, just click on the “Build Now” option. If the configurations would be properly done then you would get the reports on the dashboard. A build history would be created on the dashboard when the tests would be executed a number of times.
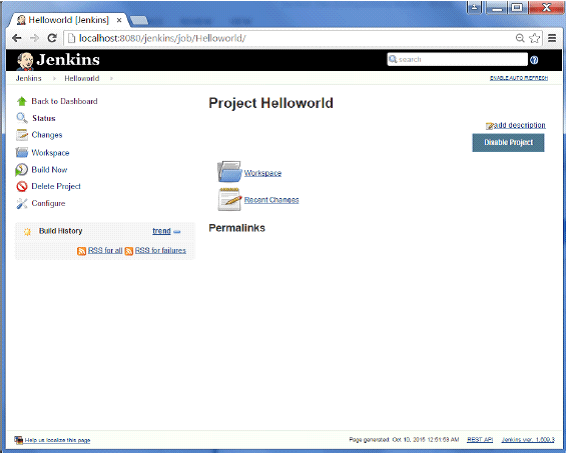
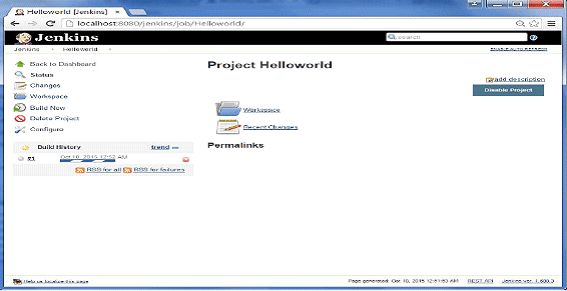
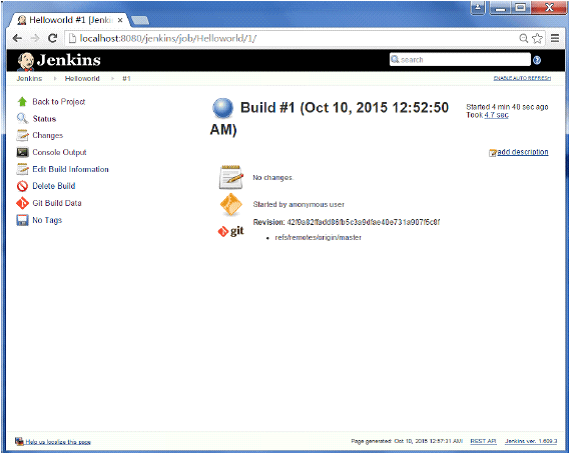
You can then just click on the build history to know whether your build got passed or failed. This option would be available on the dashboard. You will even able to see reports that how many tests got passed and how many got failed.
Conclusion
Jenkins is a very powerful continuous integration tool. You can choose the project and then you are done with everything. Just see the reports and share the server URL with the client and all stakeholders. All the best!!
You may like to go through a Tutorial on Selenium, Cucumber and Gherkin


